Repo
软件仓库屏。每个源 = 一张卡,从源拉
manifest.json列出该源提供的文件,按分类展示。点 Get 就下载到设备。支持 Cloudflare R2 + Bearer token 认证。
一句话
一个 manifest.json 驱动的极简 app store,给内核模块、脚本、工具分发用。
源码:src/screens/RepoScreen.tsx(~480 行)+ src/contexts/RepoContext.tsx。
实拍
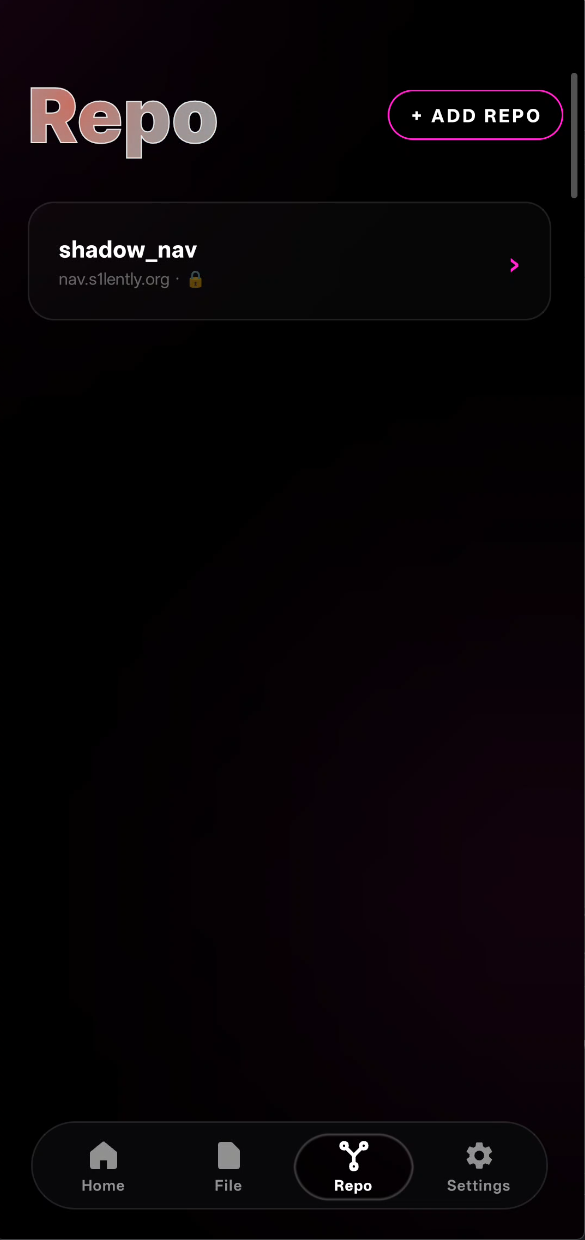
+ ADD REPO 按钮右上角粉色描边;下面一张卡是已经添加的 shadow_nav 源,URL 后面的 🔒 表示带 Bearer token。
长这样
┌──────────────────────────────────────────┐
│  Repo                              [ + ] │   ← 加源按钮
├──────────────────────────────────────────┤
│  ┌────────────────────────────────────┐ │
│  │ Shadow Paging Official       [⟳][×]│ │   ← RepoCard
│  │ https://shadow.example.com         │ │
│  │ ──────────────────────────────     │ │
│  │ 🏷 Kernel Modules                   │ │
│  │   • shadow_ce.ko  220KB  [  GET  ] │ │
│  │   • shadow_pg.ko  180KB  [RE-GET]  │ │
│  │                                    │ │
│  │ 🏷 Tools                            │ │
│  │   • bp_ctl       45KB   [  GET  ] │ │
│  │   • debug.sh      2KB   [  ✓   ]  │ │
│  └────────────────────────────────────┘ │
│                                          │
│  ┌────────────────────────────────────┐ │
│  │ My Private Worker           [⟳][×]│ │
│  │ https://worker.myaccount.dev       │ │
│  │ ...                                │ │
│  └────────────────────────────────────┘ │
└──────────────────────────────────────────┘每张卡展开是该源的 manifest 内容,按分类分组的下载列表。
Manifest 格式
源端只需要放一个 JSON:
{
  "schema": 1,
  "repo": "Shadow Paging Official",
  "updated": "2026-04-23T10:00:00Z",
  "categories": [
    {
      "id": "kernel-modules",
      "title": "Kernel Modules",
      "items": [
        {
          "key": "kernel-modules/shadow_ce.ko",
          "name": "shadow_ce.ko",
          "size": 225280,
          "version": "1.2.0",
          "notes": "Main CE kernel module"
        },
        {
          "key": "kernel-modules/shadow_pg.ko",
          "name": "shadow_pg.ko",
          "size": 184320,
          "version": "0.9.1"
        }
      ]
    },
    {
      "id": "tools",
      "title": "Tools",
      "items": [
        { "key": "tools/bp_ctl", "name": "bp_ctl", "size": 46080 }
      ]
    }
  ]
}
字段含义:
| 字段 | 类型 | 必须 | 说明 |
|---|---|---|---|
schema | int | 是 | 目前就 1 |
repo | string | 是 | 源的显示名 |
updated | ISO8601 | 否 | 最后更新时间(展示用) |
categories[].id | string | 是 | 唯一 id(排序用) |
categories[].title | string | 是 | 分类标题 |
items[].key | string | 是 | 相对 URL path |
items[].name | string | 是 | 显示名 |
items[].size | int | 否 | 字节数(展示用) |
items[].version | string | 否 | 版本号(展示用) |
items[].notes | string | 否 | 一行说明 |
加一个源
点右上角 [ + ] 弹出对话框:
┌─────────────────────────────────────┐
│  Add Repo Source                    │
├─────────────────────────────────────┤
│ Name                                │
│ [ My Shadow Repo________________ ]  │
│                                     │
│ URL                                 │
│ [ https://worker.me.workers.dev ]   │
│                                     │
│ Auth Token (optional)               │
│ [ ••••••••••••••••••••••••____ ]    │
│                                     │
│                    [Cancel]  [Add]  │
└─────────────────────────────────────┘
只需要 3 项:名字、URL、可选 token。
存储在 AsyncStorage 里(key: @repos),App 重启仍在。
每张卡自己拉 manifest
function RepoCard({ repo }: { repo: Repo }) {
  const [manifest, setManifest] = useState<Manifest | null>(null);
  const [err, setErr] = useState<string | null>(null);

  useEffect(() => {
    fetchRepoObject(repo, '/manifest.json')
      .then(JSON.parse)
      .then(setManifest)
      .catch(e => setErr(String(e)));
  }, [repo.url]);

  // ... render
}每张卡mount 时自己 fetch 自己的 manifest——多源并行,一个挂了不影响别的。
Bearer token 注入
async function fetchRepoObject(repo: Repo, path: string): Promise<string> {
  const headers = new Headers();
  if (repo.authToken) {
    headers.set('Authorization', `Bearer ${repo.authToken}`);
  }
  const res = await fetch(`${repo.url}${path}`, { headers });
  if (!res.ok) throw new Error(`${res.status} ${res.statusText}`);
  return res.text();
}
token 只在 fetch 时注入 header,不在 URL 里裸露。
Cloudflare R2 支持
R2 的公共 bucket 可以直接裸 URL 访问,加 token 只为防刷:
https://my-bucket.r2.dev/manifest.json私有 bucket 通常配一个 Worker 做鉴权转发。Worker 的 URL 就是源 URL,token 是 Worker 约定的 Bearer。
作者这边的 cf-repo-worker/ 目录里有一个示例 Worker——接 /manifest.json 和 /kernel-modules/shadow_ce.ko 这种 key,用 R2 API bucket.get(key) 返回内容。
下载文件
点 [GET] 按钮:
const download = async () => {
  const url = `${repo.url}/${item.key}`;
  const authHeader = repo.authToken
    ? `-H "Authorization: Bearer ${repo.authToken}"`
    : '';
  const cmd = `mkdir -p "/data/adb/shadow" && curl -fsSL ${authHeader} -o "${destPath}" "${url}"`;
  await fs.exec(cmd, true);   // run as root
};
目标路径固定在 /data/adb/shadow/(或配置里改)—— 这是 Shadow Paging 生态约定的放置点。
用 curl 而不是 JS fetch:因为要写到 /data/adb/(系统分区),必须 root。JS 侧下载完再 mv 要多一步 I/O;直接让 curl 作为 root subprocess 一气呵成。
状态机
每一行有 5 个状态:
idle          ─── 未下载
 │  [GET]
 ▼
downloading   ─── 正在拉
 │
 ├─→ ok       ─── 刚下完成,显 ✓ 1.5s
 │   │
 │   ▼
 │   downloaded  ← 已在设备上
 │
└─→ err ─── 失败,红字 ERR已下载状态通过启动时扫 /data/adb/shadow/ 的文件列表判断——有对应文件 + size>0 就直接标 downloaded,用户不用重下。
Refresh / Delete 源
每张卡顶栏:
- [⟳] refresh —— 重新 fetch manifest(token 没变的情况下直接刷)
- [×] delete —— 从 AsyncStorage 移除这个源,卡消失
不删 /data/adb/shadow/ 里已下载的文件——只删源配置。
批量 stat:避免每行一次 syscall
如果有 50 个 item,naive 做法是每个 row 自己 stat 看是否下载过——50 次 syscall。
优化:parent 组件批量 readDir 一次:
// RepoCard top
const sizes = useMemo(async () => {
  const entries = await fs.readDir('/data/adb/shadow');
  return Object.fromEntries(entries.map(e => [e.name, e.size]));
}, [manifest]);

// 传给每个 row
<RepoItemRow initialSize={sizes[item.name]} />
一次 readDir ≈ 1ms,比 50 次 stat 快 50 倍。
视觉风格
- 主题色驱动:每个按钮的颜色都从
useSettings().color取 - HoverText 标题:“Repo” 也是发光动效
- SurfaceCard 做每个源卡的背板(磨砂 + 渐变 + 边框发光)
- ActionPill 做 GET 按钮(药丸形 + 状态色)
- 分类之间空
$3间距(Tamagui scale,约 12px)
未来
当前只是下载工具——拿回来放那儿就没了。计划加:
- 自动
insmod/ 执行权限设置 - 版本对比 + 更新提示
- 签名验证(keybox.xml 里可能有私钥)
- 离线快照(offline mode 展示已有项)
相关文件
src/screens/RepoScreen.tsx— 主屏src/contexts/RepoContext.tsx— 源列表 + AsyncStorage 持久化 +fetchRepoObjecthelpersrc/components/SurfaceCard.tsx— 卡片底盘src/components/ActionPill.tsx— GET / RE-GET / ERR 按钮src/native/fs.ts— fs.exec 跑 curlcf-repo-worker/— Cloudflare Worker 示例源(R2 + Bearer auth)